How to create a xrp wallet on XUMM
Xumm and the Solo dex are both interfaces communicating with the xrpledger. When you use any of them to create a wallet, you actually create your wallet directly on the xrpledger, which mean that you can use One xrpledger on multiple interfaces. This tutorial teaches you how to use the most popular xrpledger based wallet called XUMM.
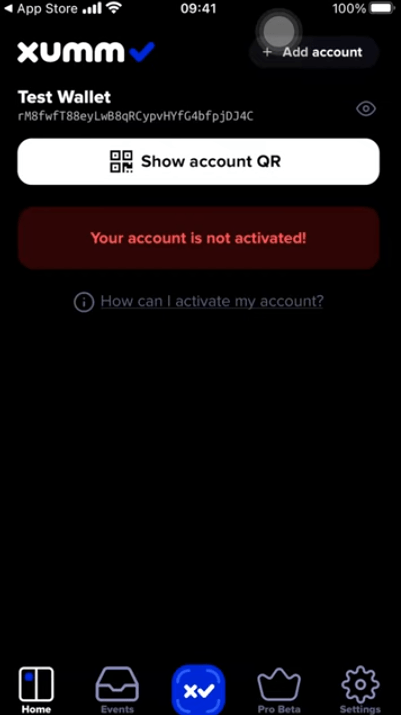
This video shows you how to download the app on the IOS APP-store, and then how to create yourself a xrpledger based wallet, it does not show you how to activate your wallet though, but the step below will explain.

When you have a xumm wallet set up, you can see your public wallet address, this is the address you use to receive xrp.
This wallet is a so called self-custody wallet, which mean that you are the only person in the world who can access it.
Your public wallet address on the xrpledger always starts with the letter r.
You do not need to use a memo when you receive funds to your own self custody wallet. However, if you deposit xrp on a centralized exchange, it is very important that you use the memo they provide you with.
Some wallet software lets you know your secret seed (also called family seed) when you create your wallet, a secret seed starts with the letter s and must remain secret. The holder of a secret seed is able to fully control the wallet ( as in sending funds ).
The XRPLedger requires a reserve fee of 10 xrp on each wallet, and on top of that it requires 2 xrp for each trustline you add.
Your wallet will not be active until you hold 10 xrp, with other words. And if you want to hold a xrpl token (the solo token for example), then you need at least 12 xrp + 1 xrp for the future transaction fees.
You can only get a piece of those back if you delete your wallet, but that's for an other tutorial.
You can receive xrp without having an activated wallet. So all you need to do is to either buy xrp and have it sent to your wallet (your public address), or find someone to help you by sending you the necessary xrp.